The Steps of Microblading Eyebrows, Everything You Need

Microblading is a revolutionary beauty treatment that transforms thin or uneven eyebrows into perfectly shaped, natural-looking arches. The process may seem intricate, but understanding each step can help you feel more confident and informed before your appointment. In this comprehensive guide, we’ll walk you through every steps of the microblading process, from consultation to aftercare.
What is Microblading?
Microblading is a semi-permanent makeup technique that uses a handheld tool with fine needles to deposit pigment into the skin. The result is hair-like strokes that mimic natural eyebrow hairs, creating fuller and more defined brows. The procedure typically lasts between 12 to 18 months, depending on your skin type and lifestyle.
Step 1: Consultation and Preparation
The first step from all steps of microblading process is a consultation with a licensed and experienced technician.
- Discuss Your Goals: During the consultation, you’ll discuss your desired brow shape, thickness, and overall look. Bring reference photos if possible to help your technician understand your preferences.
- Skin Assessment: The technician will evaluate your skin type and condition to determine the best approach and ensure you’re a suitable candidate for microblading.
- Patch Test: A patch test may be conducted to ensure you’re not allergic to the pigments or numbing agents used during the procedure.
- Brow Mapping: The technician will use a precise measuring tool to map out the ideal brow shape based on your facial features. This ensures symmetry and enhances your natural beauty.
Step 2: Numbing:
Before the procedure begins, a topical numbing cream is applied to the brow area to minimize discomfort. This process takes about 20-30 minutes to ensure you feel as little pain as possible during the microblading.
Step 3: Creating the Brow Design:
Once the numbing cream has taken effect, the technician will finalize the brow shape.
- Pencil Outline: The brow shape is drawn with a pencil or marker to give you a clear visual of the final look. You’ll have the chance to approve the design before the procedure starts.
- Custom Pigment Selection: The technician will select a pigment color that matches your natural brow hair or complements your skin tone.
Step 4: The Steps of Microblading Procedure:
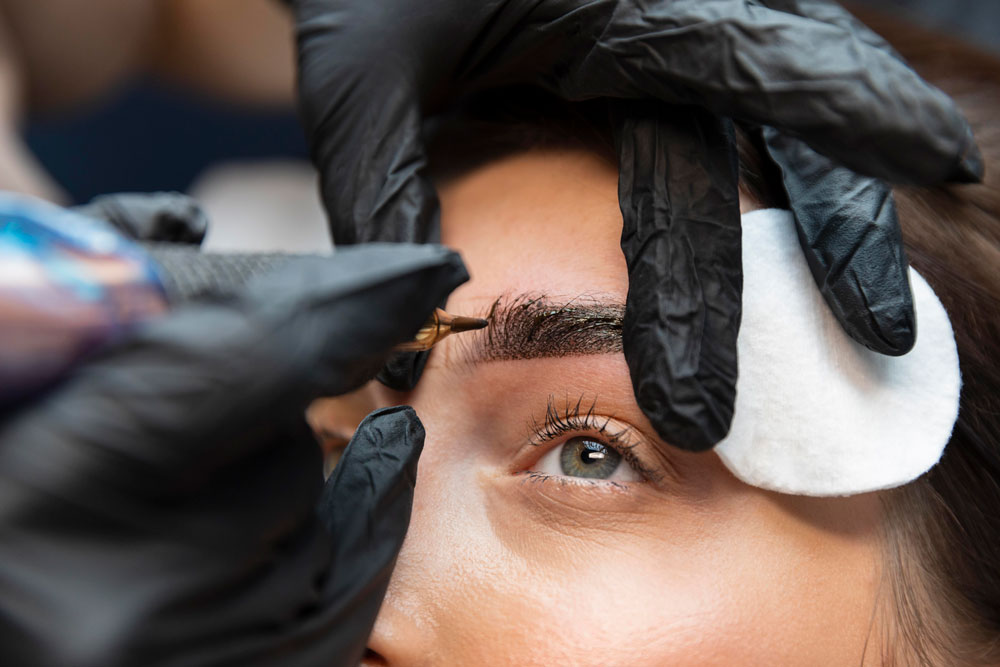
The actual microblading process involves creating fine, hair-like strokes using a specialized tool.
- Initial Strokes: The technician uses the microblading tool to etch tiny strokes into the skin, mimicking natural eyebrow hairs.
- Layering Pigment: Pigment is applied over the strokes to fill them in, creating a more defined and natural look. This step may be repeated to achieve the desired depth and fullness.
- Adjustments: Your technician will check the work frequently to ensure the brows are symmetrical and meet your expectations.
Step 5: Cleaning and Finishing Touches:
After the microblading is complete, the area is cleaned, and any excess pigment is wiped away. A soothing ointment is applied to help the skin begin healing.
Step 6: The Healing Process:
The healing process is crucial to the success of your microblading results.
- Initial Healing (Days 1-7): Your brows will appear darker and bolder immediately after the procedure. Some redness and slight swelling are normal.
- Peeling Phase (Days 7-14): The skin will begin to flake and peel as it heals. Avoid picking or scratching the area to prevent uneven pigment retention.
- Color Settling (Weeks 3-4): The pigment will lighten and settle into its final color over the next few weeks.
Step 7: Touch-Up Appointment:
A touch-up appointment is typically scheduled 6-8 weeks after the initial procedure. During this session:
- Adjustments: The technician will fill in any areas where the pigment may have faded or unevenly settled.
- Final Enhancements: This session perfects the shape, depth, and color of your brows for long-lasting results.
How to Prepare for Your Microblading Appointment:
- Avoid Caffeine and Alcohol: These can thin your blood, leading to more bleeding during the procedure.
- Skip Certain Skincare Products: Avoid retinol, exfoliants, and harsh skincare products at least a week before your appointment.
- Stay Hydrated: Proper hydration can improve the healing process and pigment retention.
Aftercare Tips for Microblading:
- Keep Brows Dry: Avoid water, sweat, and steam for the first 7-10 days to allow the skin to heal properly.
- Apply Healing Ointment: Use the aftercare product provided by your technician to keep the area moisturized and protected.
- Avoid Makeup and Sun Exposure: Don’t apply makeup on your brows or expose them to direct sunlight during the healing phase.
- No Picking or Scratching: Let the scabs fall off naturally to prevent scarring or uneven pigment.
Why Choose Nancy Akbari for Microblading?
When it comes to microblading, expertise matters. Nancy Akbari, founder of Cosmetic by Banou, is renowned for her precision, artistry, and commitment to client satisfaction. With years of experience and a passion for enhancing natural beauty, Nancy ensures flawless results tailored to your


